
Your Guide To Overlanding Roof Racks Systems
If you are new to the world of Overlanding and are searching for a set of baggage racks for your Overlanding vehicle you may have a few questions. To cover these queries and more, we have written up this definitive guide to help you navigate the ins and outs of roof carrier systems.
Luggage racks and their accessories come in an assortment of shapes and sizes, where each rack system offers a unique function. For example, a rooftop carrier provides a closed environment to store goods. In comparison, racks create an open space for tethering goods. We no longer need to rely on a one-size-fits-all set of racks for our Overlanding adventures. Instead, we can choose from various unique systems available and find the one that suits our needs.
Whether you need a set for pitching a rooftop tent or carrying fishing poles, there is a wide range of luggage carriers available. This assortment can make finding the ideal ones challenging. Find the perfect rack system with the help of our handy guide that follows.
Let’s dive in!
The Ultimate Roof Rack Guide
1. What Are Luggage Racks Used For?

Having a carrier system makes it easy to transport bulky items that don’t fit in your car - this can be useful when Overlanding.
The racks attach to the top of your car. They provide a sturdy platform you can tether your luggage to- a handy tool when you need the extra space.
A set of racks usually come designed to fit a specific vehicle model; however, it is possible to find universal ones. Standardized racks are fantastic for family holidays. However, they are not always suitable for Overlanding. There are certain functions they cannot perform, for example, you cannot pitch a rooftop tent on universal carriers.
The jargon that surrounds these devices can get confusing. Racks, bars, and rails - knowing which is which will make life much more straightforward. It will also prevent you from buying the wrong system. These systems all help you transport goods on the roof of your car; however, each is unique in its design, and the items they allow you to carry.
-
Roof Racks
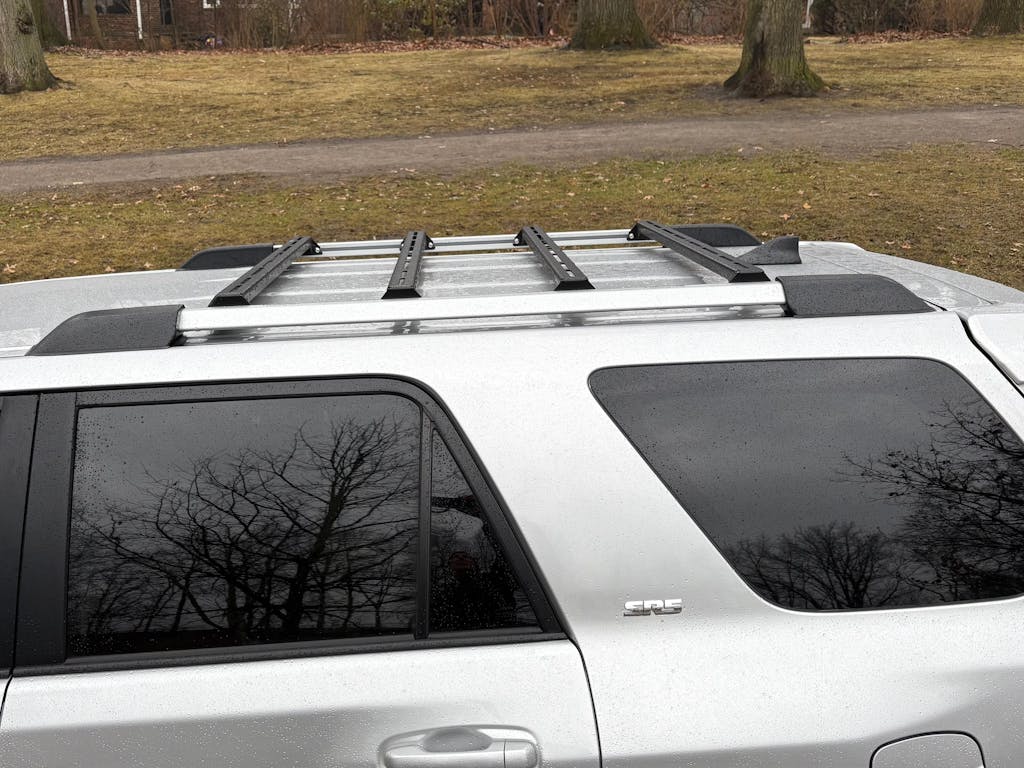
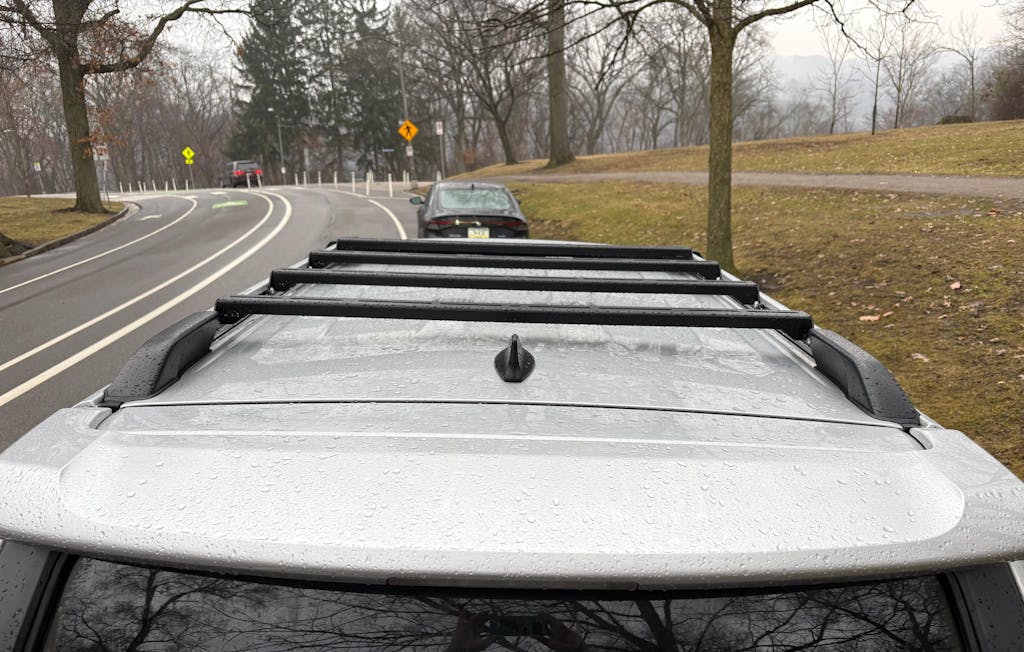
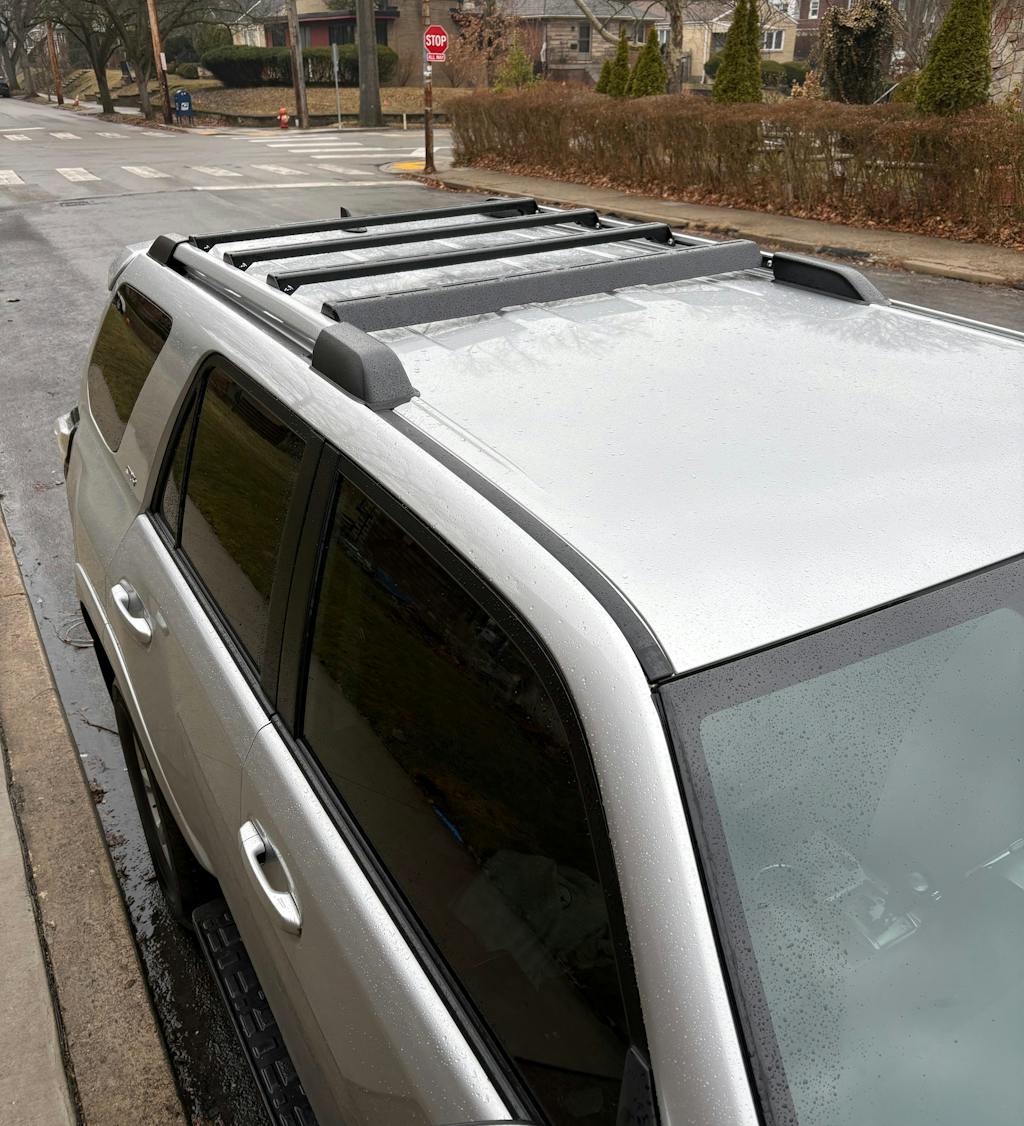
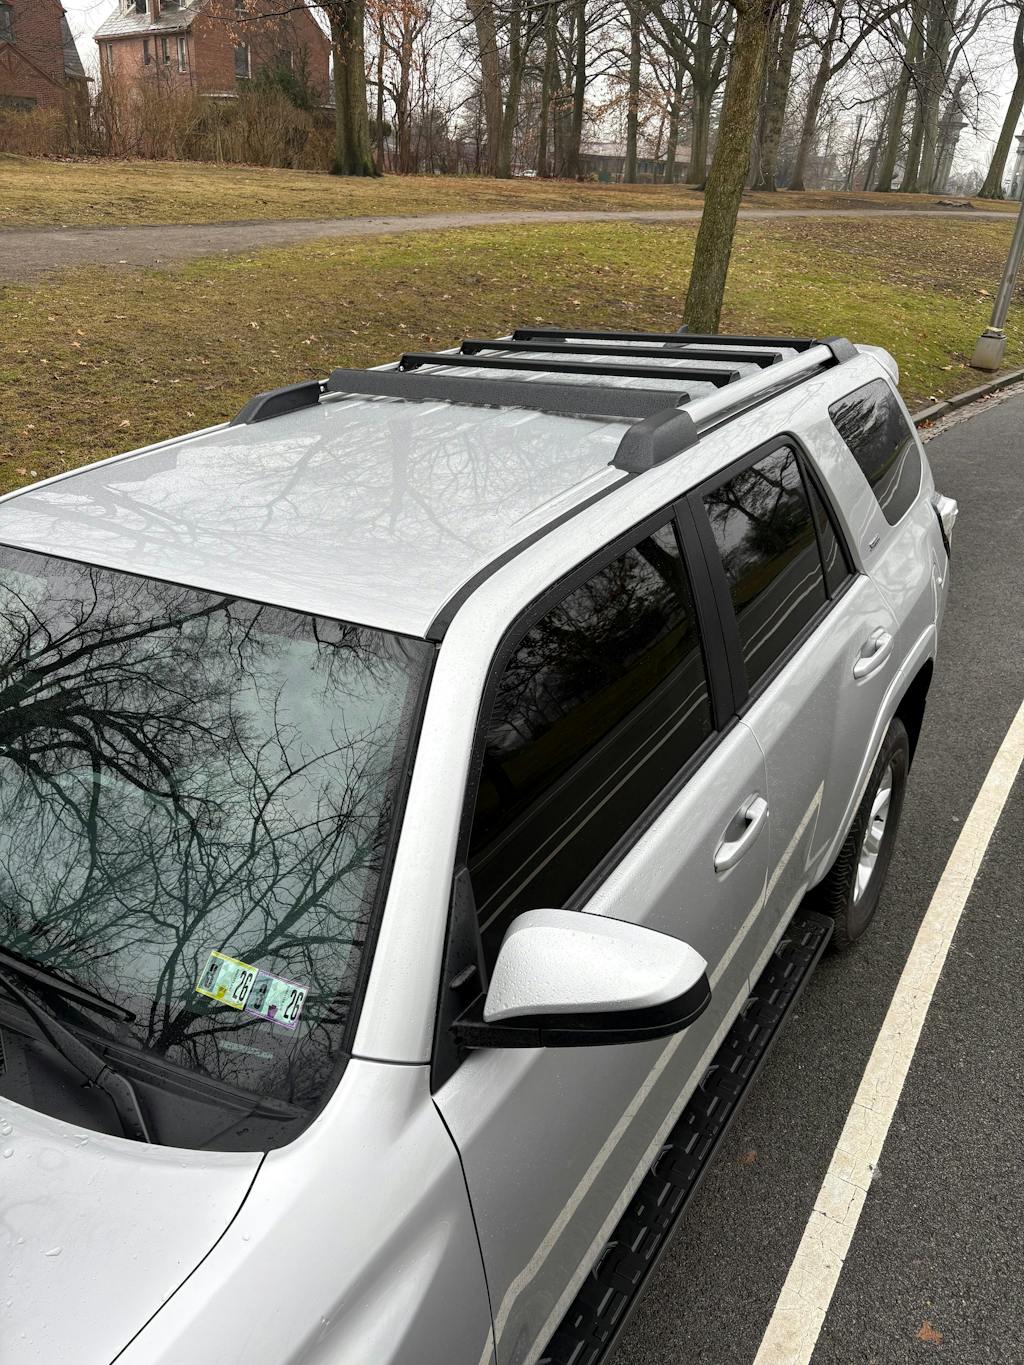
These attach to the top of your vehicle, sitting cross-ways from the left to the right of your car. They come as a set of crossbars or as a pre-fabricated platform. The racks are often modular, allowing for various accessories such as a roof box to connect to them. These racks do not come pre-installed, so you will need to buy them. If you are a Toyota Tacoma owner, be sure to read our blog listing Best Tacoma Roof Racks for Overlanding.
-
Roof Rails
You can tell these apart from racks by the way they sit on your car. Rails sit on either side of the top of your vehicle and run from front to back. These rails come pre-fitted on your vehicle and they come in two styles. Flush rails hug the roof and Raised rails to feature a gap that sits between them and the top of the car.
-
Cross Bars
These come as two beams that sit across the top of your car, similarly to baggage racks. Where luggage racks are modular and often feature added support bars, bars come in a pair only. They are often referred to as crossbars and come designed to fit most vehicles with ease. While offering the same function as racks, these bars are not made for use with certain accessories.
2. How Much Does It Cost To Get Baggage Racks?

The cost of a rooftop carrier will differ depending on the size and style you buy. The general feeling is that they are pricey and they are, with good reason. These racks, while they may seem like another piece of metal, are more than that. They go through a unique design and manufacturing process and are made from quality materials that last.
Manufacturers design rack systems that then go through rigorous testing. The tests check that the racks are sturdy enough to bear the weight of your luggage. They test to see that these systems comply with aerodynamic and capacity standards. These two factors can have an enormous impact on your car's handling.
Producers make carriers with high-quality and very specific metals. These materials are then treated, increasing their longevity. An example of this is the powder-coating applied to the racks. This coating prevents weathering and rust. An additional UV protective layer stops sun damage and fading.
3. How Do I Know Which Racks Are Right For Me?

Buying the correct luggage racks is important for many reasons. The first being that purchasing the wrong ones will be costly if they don’t fit your car or meet your needs. You may find yourself having to repurchase an entirely new set. By narrowing down a few criteria you can easily find the ones you need.
-
The Vehicle You Drive
The car you own will be a deciding factor when you buy a luggage carrier. Except for universal bars, these racks do not come as a one-size-fits-all - they are made to work with particular vehicle roof styles. Similarly, each vehicle model comes with a unique roof style that affects how you install your carrier. Checking your car or the owner's manual will help you determine how these systems attach to your vehicle.
-
How You Intend To Use Them
You will find a variety of carrier racks available, however, not all these systems offer the same functionality. Some are ideal for using to pitch a rooftop tent. Others, such as simple bars, are better for transporting items such as kayaks. Figuring out what you intend to use the racks for will help you figure out which set best suits your needs.
-
The Size of The Rack System
The size of the system you buy depends on your vehicle's weight capacity and the size of your vehicle's roof. Purchasing a set of racks that are too big is a waste of money. Why? They may not fit your car, and using an oversized rack increases your fuel consumption.
The question then is: how do you measure a roof rack? Measuring luggage carriers generally isn't the issue at hand. You can find the dimensions for them on the manufacturer's website or the box they come in. The place you want to measure is your car's top to determine what size rack system you need.
How your car's roof looks determines how you measure it. If you have rails, you will measure the distance between these and not the roof itself. It is important to note where on the rails you take your measurements. Taking the readings from inside or outside the rails affects the measurement you end up with. Some carriers require measurements to be taken from the center of the fixed rails for a more accurate reading.
4. How Do I Install My Luggage Racks?

One of the most crucial aspects of getting roof platforms is installing them the correct way. Rack systems that are not connected properly can cause damage to your vehicle and they pose a danger for other motorists too. Having an object falling from your car while you are on the road is illegal. It could result in a considerable fine because of the serious accidents this can cause.
They must attach to your car the way manufacturers intended. If they don't, you may end up losing your items or having your car damaged by systems that pull loose.
Different types of cars require different methods of attaching carrier systems to them. Once you have identified the roof style of your car, you can buy your carrier set to match.
You do not have to take your rooftop systems to a dealership to have them installed, you can do it yourself at home. However, it is imperative that you first read the instructions as it is simple to make an expensive mistake. Having a second person around to assist you with the installation is also handy, especially when you need help to lift the racks onto your vehicle. This will prevent scratches or scuffs on your vehicle.
The method of installation needed to attach the racks to your car will come with the instructions. These how-tos often come with the set you buy, however, these are sometimes unclear. So, we have come up with a useful guide for you.
-
Bare Roof Cars
A bare roof vehicle comes without any form of pre-fitted installation points, such as rain gutters, fixed mounts, and rails. These cars need a special fitting kit that comes with towers and crossbars. The kit connects to the door jamb of your vehicle with clamps designed to fit your vehicle model.
Installing these baggage racks is quick and you can have them attached in a little over 30 minutes. Here is how you set about installing them:
- Make sure the roof of your car is clear of debris and give it a good clean.
- Attach the crossbars to the towers if they do not come pre-connected.
- Place the racks onto your car and see that you are happy with where they are sitting.
- Now, it is time to connect the clamps and the towers. Place the clamp between the door jamb and the tower feet so it sits in place.
- Fasten the clamp to the feet of the tower using the bolt provided.
- Give the rack a shake to see that it stays secure and in place.
- Repeat these steps for each end of both crossbars.
Another method of attaching rooftop carriers to a bare top vehicle is by drilling.
A template or measurements usually accompany these systems and act as a guide on where to drill to install your rack system. Creating these holes in your car's body allows you to bolt the rack system to it. While this method may seem daunting, it offers a sturdy connection between your car and the racks. One step of the installation you should not forego is this: you must treat the holes you make with silicone to prevent any water damage. The silicone acts as a seal, preventing water from seeping into the car through the newly drilled holes.
- Find the weather stripping on your car’s top and remove it. Then give the area a good clean.
- If you do not have a template, place the racks where you would like to have them positioned.
- When you are satisfied with the placement, mark off where the drill holes will need to go. You can use a construction pencil or marker to do this. It would be best practice to measure each side to make sure you have the racks aligned. And remember, the drill holes will go inside the weather duct. You need to locate them in the center of these ducts.
- Take note of the correct depth that you must drill down too. Going too deep can cause unwanted damage to your car. It is also essential to take note of how wide the holes need to be. Once you have all the information, you can make your holes. Because you are drilling metal, it is an excellent idea to let your drill bit cool down after each hole you make.
- After your drilling is complete, vacuum up any metal filings.
- Now it is time to seal up the holes with silicone. This is to keep them waterproof. Apply a silicone sealant using a Q-tip to the inside of the hole.
- Place the rivnuts into the holes.
- For added moisture protection, place a patch over these areas.
- Next, slide the correct washers onto the screw. Set your side rails into place, and then using the screws, fasten them in place.
- Tighten the screws and check that the rails are fixed in place.
- All you need to do now is attach the crossbars and support bars, depending on the type of system you bought.
-
Fixed Point Vehicles
Systems made for fixed-point cars are quick to install. Pre-assembling them before you attach the carriers using this method will make the procedure even quicker. The baggage carriers come with mounting tabs that connect to the four factory-made mounting holes on your car. Here is how you set about installing them:
- Find the four mounting points on the top of your car. These usually come covered or sit beneath the weather guards on the top.
- Remove the covers and give the mounting points a thorough clean.
- If there is a weather strip concealing these points, make relevant markings on the strips. These markings should show where the racks will be. Cut the trim to fit back while allowing for the luggage carrier. Place the edging back into the weather ducts.
- The mounting points consist of open holes. Treat these holes with silicone to make them waterproof. Then, place the spacers that come included on your kit over the holes. Push down on the spacers so that a little silicone oozes out the sides.
- Align the rack system by placing them over the spacers, slot them into place and tighten the screws.
- Check to see that the racks are firm and secure.
-
Rain Gutters
Some vehicles have rain gutters and the carriers designed to fit these cars attach with clamps. Before connecting this set of baggage racks to your vehicle, you will need to pre-assemble them. This system comes with legs that sit under the frame of the racks and then slot into the gutter channel. Once pieced together, the carrier rack is walked over the car's roof with the legs sliding into the rain gutter. When you have them in place, the legs then get clamped to the channel. Here is how to go about it:
- If your rack does not come pre-assembled, you will want to build it now.
- Then, take the feet from your kit and slot them into the gutter to see that the height is correct.
- Turning to your rack system, slide the bolts into place on the side rails. It is these bolts that will attach the legs to the frame.
- Measure your roof and check that the legs are spaced out equally.
- Once the legs are in position, bolt them to the frame and tighten them.
- This next step is where you will need a second set of hands. Raise the rack and walk it over the top, slotting the legs into the gutter as you move.
- When you are happy that the system is in place, adjust the legs to sit at the best possible angle. Positioning them this way creates the right amount of tension. Tighten the bolts that connect the legs and the frame.
- A clamp then fits over the legs. It connects from the outside of the rain gutter to the legs' length, securing them into the channel.
- Fasten the bolt on the clamps and see that they are firm and secure.
-
Fitted Raised Rails
Cars with this detailing allow for simple installation. Because the rails are a few steps from being luggage racks themselves, they provide an easy point for attaching your crossbars. Let's see how it's done:
- Connect your crossbars to the clamps that go with them.
- When you have them assembled, fasten the clamps onto the raised rails.
- Place the crossbars as needed.
- Measure both sides to make sure the bars are straight and aligned.
- When you are happy with where the crossbars sit, bolt the clamps in place.
- Give the crossbars a firm shake to check they are secure.
5. How Do I Maintain My Roof Racks?

Now that your carrier platform is in place, you will need to think about keeping them in good condition. Maintaining your rack system doesn't take up much time and will save you money in the long run as it increases your longevity. To keep them in tip-top shape here are a few tips:
Cleaning and Inspection
- Cleaning - When you clean your car, take a moment to give your baggage platform a thorough clean too. Remove them from your vehicle (if they are not fixed) and once removed, wipe them over with warm water and detergent. Finish off with a good buff and polish to leave them looking like new.
- Inspection - After cleaning them, complete a close-up inspection. If you see any patches that are looking like they need a little TLC, then treat them, for example, if you see any parts that are perishing, replace or mend them. It is imperative to do this before reattaching your racks. If you don't attend to the problem areas now, you may end up forking out the money for a new set later.
- Car Washes - If you plan on having your vehicle washed in a car wash, remove your rack system first.
The cloth and foam rollers in these car washes tangle up in your racks and can pull them from the car. This will damage your vehicle, your carrier, and even the washing system. A touchless car wash is just as harmful. They use harsh detergents that can strip the coating of your platform. Without their protective coating, the racks are vulnerable to rust and corrosion.
Consider Capacity
The weight capacity of your carrier will differ from that of your car. It is essential to find out how much weight can the roof of my car hold? And, how much weight can the rack system hold?
- Safety - Understanding the weight capacity of the racks and the car is important for many reasons. The first being that an overloaded vehicle is dangerous. Added weight increases the amount of time and distance you need when braking before coming to a stop. It also affects the way your car handles corners. If your vehicle is top-heavy, it can topple if you tackle a corner at speed.
- Fuel Economy - The more weight you add to your car, the more you will pay for gas. The reason being that your car needs more power to propel it forward, and to generate more power, you need to burn more fuel.
- Body Damage - Considering the weight capacity of the car and platform will also prevent buckling. If you place too much luggage on the luggage carrier, the body of the vehicle may contort under the weight leaving your car with permanent damage.
- Luggage Placement - How you load your baggage onto your platform should also come into consideration. Layer your items so that they lie flat and compact. Don't have objects protruding too far from the edges of your rack system; this could lead to a fine as it contravenes traffic laws.
6. What Accessories Can I Use With My Carrier Racks?

The accessories you want to use will play a role in deciding on the style of rack carrier you invest in. Overland roof rack accessories come in various forms and offer unique functions - let's take a closer look at some of the options available:
-
Roof Rack Pads
These attach to your roof bars and provide a protective layer between the rack carriers and the objects you have stored on them. This barrier prevents scuffing and scraping of your racks or belongings, caused when your car goes over humps. These pads also offer extra grip for smooth items such as kayaks that are prone to shifting about.
-
Roof Top Carrier
A rooftop carrier comes in the form of a closed unit, like a second trunk. These boxes are great if you plan on traveling during the rainy season as they are waterproof and will protect your goods from the environment.
These carriers come with a streamlined design and attach to your luggage platform. The aerodynamic shape of these carrier boxes helps keep your mileage per gallon down. They offer the least resistance in comparison to an open roof basket. Leading to the question, how fast can you go with a luggage box? The answer is pretty quick, however, we suggest keeping to the speed limit. Receiving a speeding ticket is never fun.
-
Roof Basket
These feature a concave shape with raised sides that create a nook in which to place your belongings. The mesh design of these baskets offers many places to tether your goods, providing a secure carrying solution.
Although we have discussed a few rack systems and accessories, the ones you ultimately choose will depend on your needs and the car you drive. An overland truck canopy will need a unique rack system than a Jeep with rain gutters.
In Closing
By this point, it should be clear that rack systems are a solid investment. Installation may be tricky, depending on the roof style of your vehicle. However, the benefits of these systems outweigh any negatives. The versatility they offer makes them an asset to any Overlanding adventurer.
Now that the value in owning a set is clear, take a look at the selection of roof racks we offer.