
How to Install a Roof Top Tent
“Home is where you park it”. This line sounds like a good way to describe modern-day overlanding. With the right equipment and tools, as well as basic necessities, every adventurer can definitely make any location literally their home. And with the evolving innovations and new products, every experience has become better: more convenient, comfortable, and enjoyable. A case in point is a roof top tent.
Roof top tents (also known as car top tents) are a popular must-have among regular campers. This is due to its fast set-up, durability, portability, and comfort. Not to mention that they are also very easy to install and maintain. Since they are mounted to your vehicle, packing and popping up the tent is effortless. Most roof top tents even come with comfortable mattresses that are capable of accommodating up to 5 people—making camping cozy and relaxing.
These are just some of the reasons why roof top tents are well-liked by a lot of overlanders. As we go along with this article, we’ll discuss more pros about using a roof top tent, things that you need to know about it, and proper ways of installing it.
All About Roof Top Tents
Roof Top Tents VS Ground Tents


While roof top tents are very well-liked by many, there are still a lot of overlanders who use the more common ground tents when camping. So, you might ask “which is better: roof top tents or ground tents?” Let’s break down the pros and cons of using a roof top tent over a ground tent.
Pros:
- Faster and easier to set-up
- More durable
- Better view
- Cleaner and lesser bugs or insects
- Easier to find a campsite
- Safer from potential predators or wild animals
- Generally warmer and better ventilated
- Looks cooler
- More comfortable to sleep in
Cons:
- Expensive
- Large, bulky, and heavy
- Can’t use your vehicle if the camp is set up
- Needs a rack or crossbars to install
- Additional aerodynamic drag on the vehicle (resulting in poor fuel efficiency)
- Less living space
- Need to climb a ladder to access the tent
- Hassle to remove when your vehicle needs a car wash
- Harder to clean
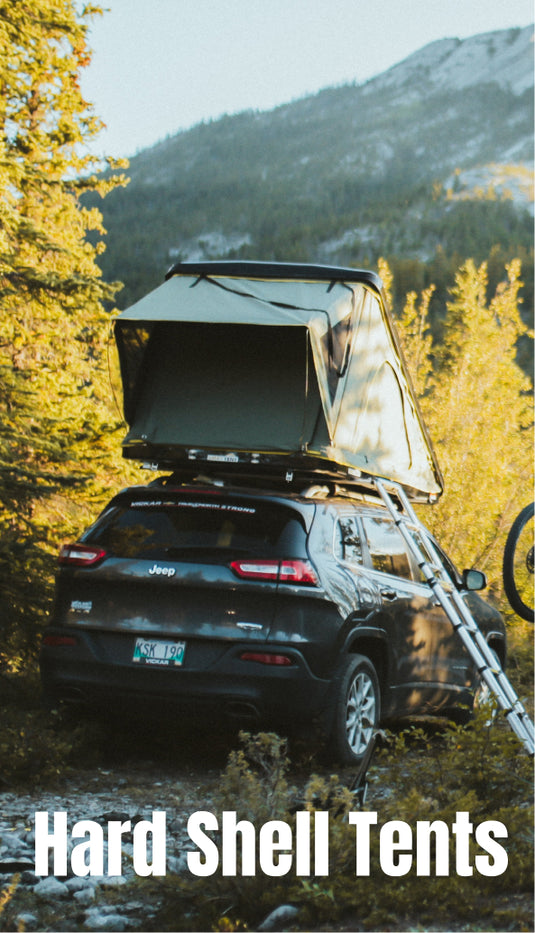
Hard Shell VS Soft Shell Roof Top Tents


After knowing the benefits and disadvantages of using a roof top tent compared to a ground tent, you may already have decided to purchase the former. So, your next question now is “what kind of tent to buy?”. Roof top tents have two general classifications: hard shell or soft shell.
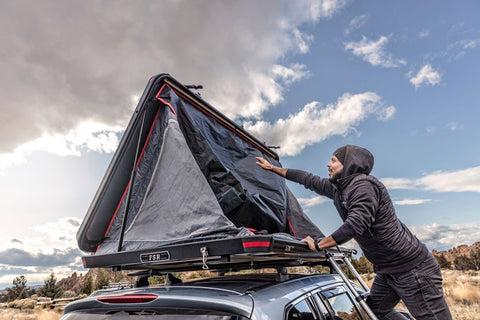
Hard shell tents (also known as hard-top tents) are characterized by two rigid outer shells that serve as their ceiling and base. These outer shells (which are typically made out of fiberglass, aluminum, or hard plastic) are joined by waterproof fabrics (that are commonly made out of nylon or canvas materials). Most hard shell tents can easily be opened just by releasing a few latches and using automated or gas strut mechanisms.
On the other hand, soft shell tents (soft-top tents) closely resemble that of a ground tent—except that they’re built on a higher area. Their bodies/walls are also made up of waterproof fabrics like canvas, nylon, or polyester. Since they don’t have the solid ceiling and base of a hard shell tent, they use an internal folding support structure like aluminum poles to give the tent its form.
Hard shell roof top tents are more durable and long-lasting while soft shell roof top tents are lighter and cheaper. To further illustrate the difference between the two, we have laid down a side-by-side comparison of the two types of roof top tents below to help you decide which one fits best for your ideal overlanding experience.
|
Hard Shell |
Soft Shell |
|
Faster and easier to set up |
Cheaper |
|
More durable and long-lasting |
Lighter weight |
|
Warmer and more weatherproof |
Accessible for stargazing |
|
Can serve as a cargo box for extra storage |
Pack down smaller |
|
More comfortable |
Larger space or sleeping area |
|
More aerodynamic; better gas mileage |
More customizable |
|
You can leave your bedding set-up |
More accessories available |
|
Quieter (since it’s not easily blown out by the wind) |
|
|
Higher headroom |
|
|
Better looks |
Things to Consider when Buying a Roof Top Tent
Aside from capacity, comfort, and looks, there are other factors that you can look into when buying a roof top tent. When you’re ready to make a purchase, keep in mind some of these helpful tips to make sure that you’re getting the best deal out of your roof top tent.
First, go for durability. Check its material, build, and other specs to see if it can withstand any weather conditions when you go camping. You can also check for additional setup stuff like awnings and annexes and examine if they are also in great condition.
Second, don’t fall for skyrocketing shipping costs when you order online. Since roof top tents are heavy, they usually require costly handling. Thus, higher shipping rates for you. Here at Roof Top Overland we have free shipping for all of the tent brands we offer.
The third and the most important thing to consider is your roof top tent’s compatibility with your vehicle. This is where you check for the tent’s weight, installation specifications, and requirements to be able to mount it to your car without a problem.
Fitting a Roof Top Tent To Your Car
Half of the deciding factor when purchasing a roof top tent is your vehicle’s compatibility. While certain models or types of vehicles have roof top tents specifically tailored for them, other vehicles require more framework (like racks, rails, and crossbars) to hold a tent. So, how do you make sure that your tent fits your car?
Load Rating Capacity
If your vehicle is equipped with a set of crossbars, one of the first things and the easiest you can look into is the weight capacity. This information is available in your vehicle’s manual. By knowing this very basic detail, you can estimate the size and weight of the roof top tent you’d want to purchase.
You should add up the roof top tent’s weight, which is somewhere around 100-250 pounds, depending on the build and material. Calculating the vehicle’s load capacity should also include additional structures (such as roof racks) along with the occupants and their gears.
Moreover, determining weight capacity is a little trickier than you think. This is because you have to consider the two types of a vehicle’s weight loading capacities: dynamic and static. Dynamic weight capacity is what your vehicle can handle when in motion while static load capacity is your car’s ability to support its load when parked or stationary. The latter can typically hold three times more than what the former can.
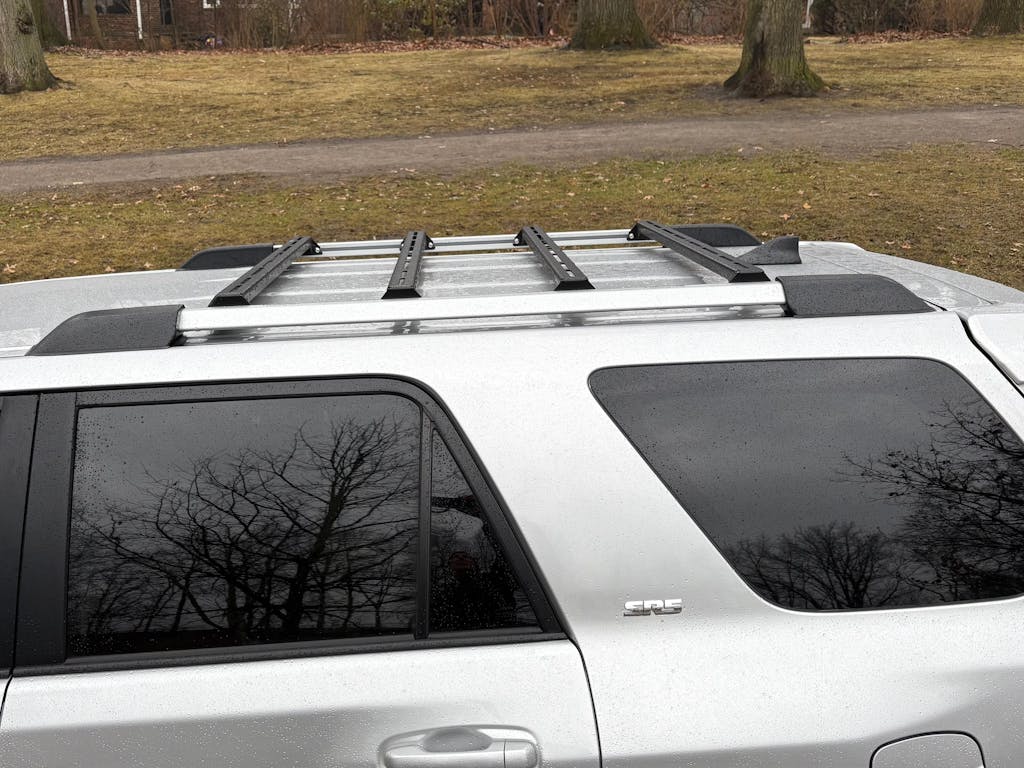
Crossbars, Roof Racks, and Tents
Once you’ve determined how much weight your car can support, you will then need to assemble what is required to pitch in the roof top tent. Since roof tents weigh a lot, you will need a strong and solid base to lay them on securely. While a set of crossbars can do the work, roof racks, or truck bed racks are still the best options because of their heavy-duty quality. So, if you’re wondering if you need crossbars or a roof rack for a roof top tent? Then, your answer is a firm YES!
Just like your car, you will have to see to it that your rack can handle both the static and dynamic weight capacities of your load. You will also need to check with the manual to see how much weight your roof rack or crossbars can hold. If you want to learn more about the best roof rack for your vehicle or which size or type of roof rack to use, you may check our guide about everything roof racks.
Installation Adaptability
There are already a lot of universal or one-size-fits-all roof racks for roof top tents available in the market. These come in handy and can be easily be used in cars, trucks, and SUVs. However, for customized and branded racks, the best way to go is to always consult their manuals to check if it works fine with your roof top tent.
Roof Top Tent Installation
Moment of truth! Now that you know the basics of roof top tents, how it works, what to look into, their requirements, etc., you are ready to put it all together. While you can have an expert do the work for you, installing a roof top tent by yourself is not exactly rocket science. To help you out, we’ve listed below a detailed process of mounting a roof top tent.
Unboxing
Layout and unwrap your roof top tent on a flat and clean surface. Then, unlatch the tent and empty it with the materials and tools that came with it. These can include spring rods, support poles, annexes, rubberized floorings, ladders, tent covers, bolts, manuals, etc. You’re going to need these materials when you set up and use the tent, but for now, just set them aside while you examine the tent for any damages or holes. Also, check if you have all the materials, bolts, screws, etc. that are indicated in the manual.
Installing

Once you’ve ascertained that the roof top tent is in good condition and that the materials are complete, you can start the installation. Depending on the model of your roof top tent, the mounting hardware and materials may vary. However, the general installation methods are pretty much the same.
You just need to set up your supporting crossbars and racks at the roof of your car first. Again, it is important that you ensure that your supporting platform can carry the load of your roof top tent (static and dynamic).
Then, separately set up the roof top tent before mounting it to the vehicle. Placed bolts, screws, and plates according to manual instructions. Once done, you can lift and fit the tent into the roof rack of your car and slide it into place. Bolt it down using the provided mounting hardware.
You can measure the positioning of the tent to ensure that it is equally aligned side-to-side on your rack. When you’re satisfied with the position of your tent, you can then secure it by tightening the bolts and fastening the latches. After this, you should be good to go or ready to test the tent.
Testing
The last part of successfully mounting a roof top tent to your vehicle is to test if it works. While most overlanders no longer do the testing until they go on camping, it is highly advisable to do this just to make sure that there are no issues and/or to fix them if there are any. This will also be a great opportunity for you to familiarize and thoroughly inspect the entire tent, its hardware materials, and mechanisms.

Wrapping Up
Now that you are already equipped with all the knowledge about roof top tents and how to install them, you are ready to leave the road and take the trails. For overlanding needs and camping equipment, check out our roof top tent and roof rack sections. You may also read our blogs for helpful tips and good-to-know information that will make your camping adventures even more fun.
Feel free to contact us with any questions (252) 680-3070 (Call or Text) email - support@rooftopoverland.com. We are here to help!